Your students will find many features on their own but here's a tour so you'll be in the know -- and maybe learn about one or two they haven't discovered yet.
The Landing Page and Journey
When your students sign in to their ST Math account, they arrive on the Landing Page.
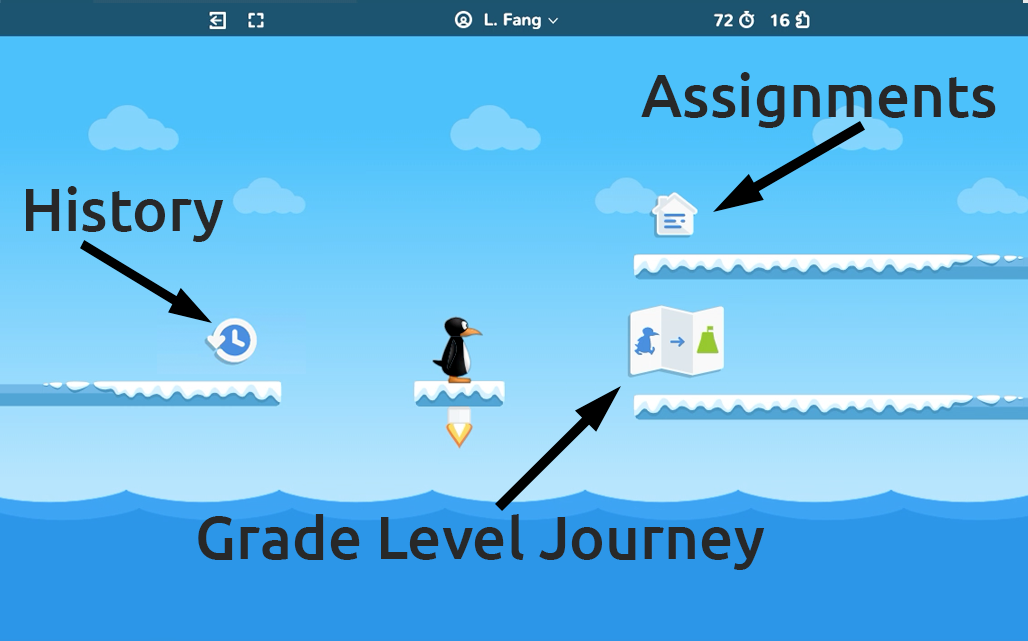
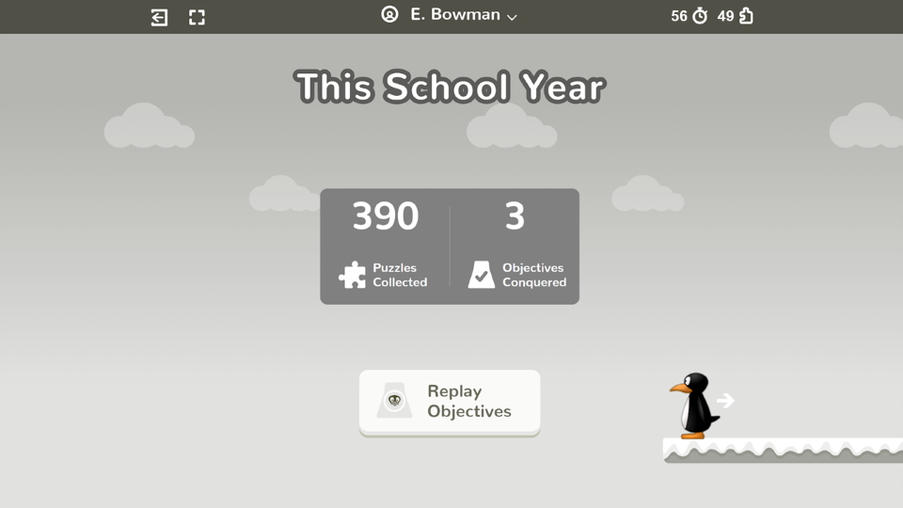
The map sends students on their grade level Journey while the house appears as a choice if students have individual or class assignments (learn more in the module on Using Assignments to Differentiate ST Math). The clock to the left of the screen allows students to look at the games they have already completed and see their total number of Puzzles Collected and Objectives Conquered.
All Objectives in ST Math are presented as a segment of a Journey. The Objective bridge is divided into sections that start with a game pillar. As students complete a game's levels, which consist of puzzles, a block is added to the bridge.
Because ST Math is a mastery-driven learning experience, students must successfully complete every puzzle in a level before moving on. Students usually have two tries before the level restarts. The number of tries a student has on a level is shown in the Toolbar (see below).
Each of the puzzles in a game have a similar theme but you'll notice that the first puzzles in the first level are very simple. Then, as you go on, the levels get more complex as language and symbols are connected to the visual models. When students complete all the levels in a game, they reach the next pillar and start on another game that builds on what they've done but may present the concepts in a different way.
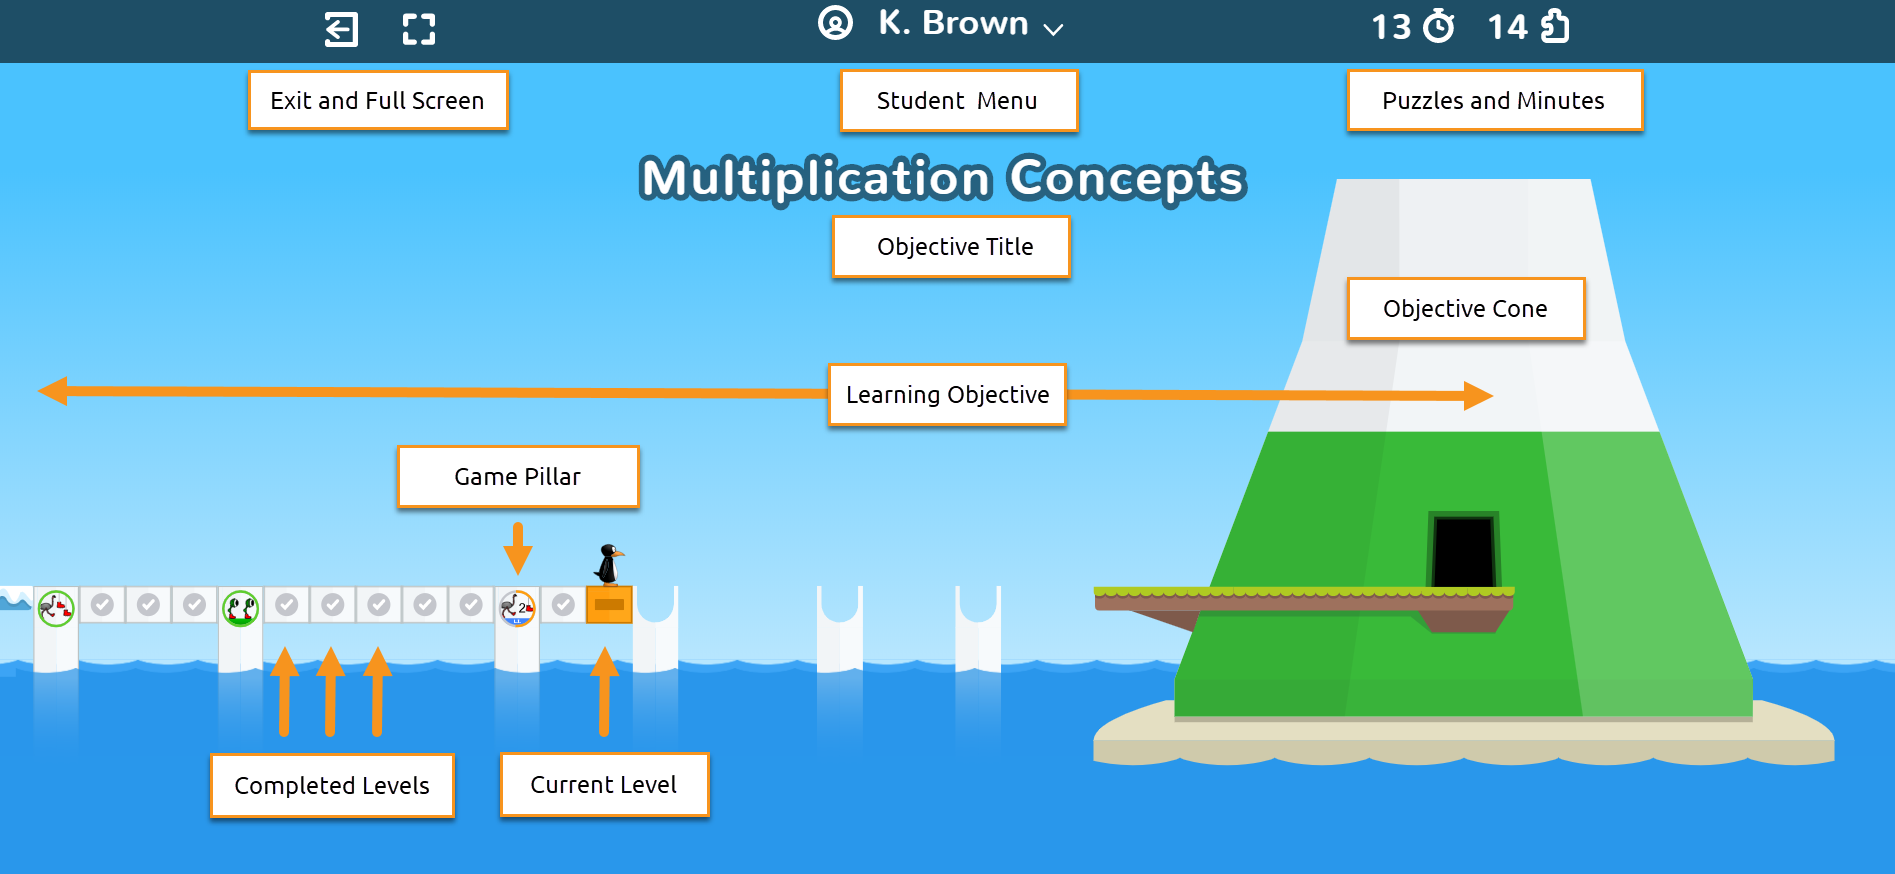
When students reach the Objective Cone, they've completed the Objective and are ready to move on to another math concept. The curriculum is designed so that students will return to important ideas several times as they build a strong conceptual understanding of mathematics.
Quizzes
Students in grades 2 and above begin and end each Objective with a quiz. Students may want to use paper and pencil or one of the quiz recording sheets available at ST Math Help.
NOTE: You can choose whether individual students see the quizzes in English or Spanish by going to the student's page in your account, selecting the Settings tab, and scrolling down to Play Preferences: Quiz Language.
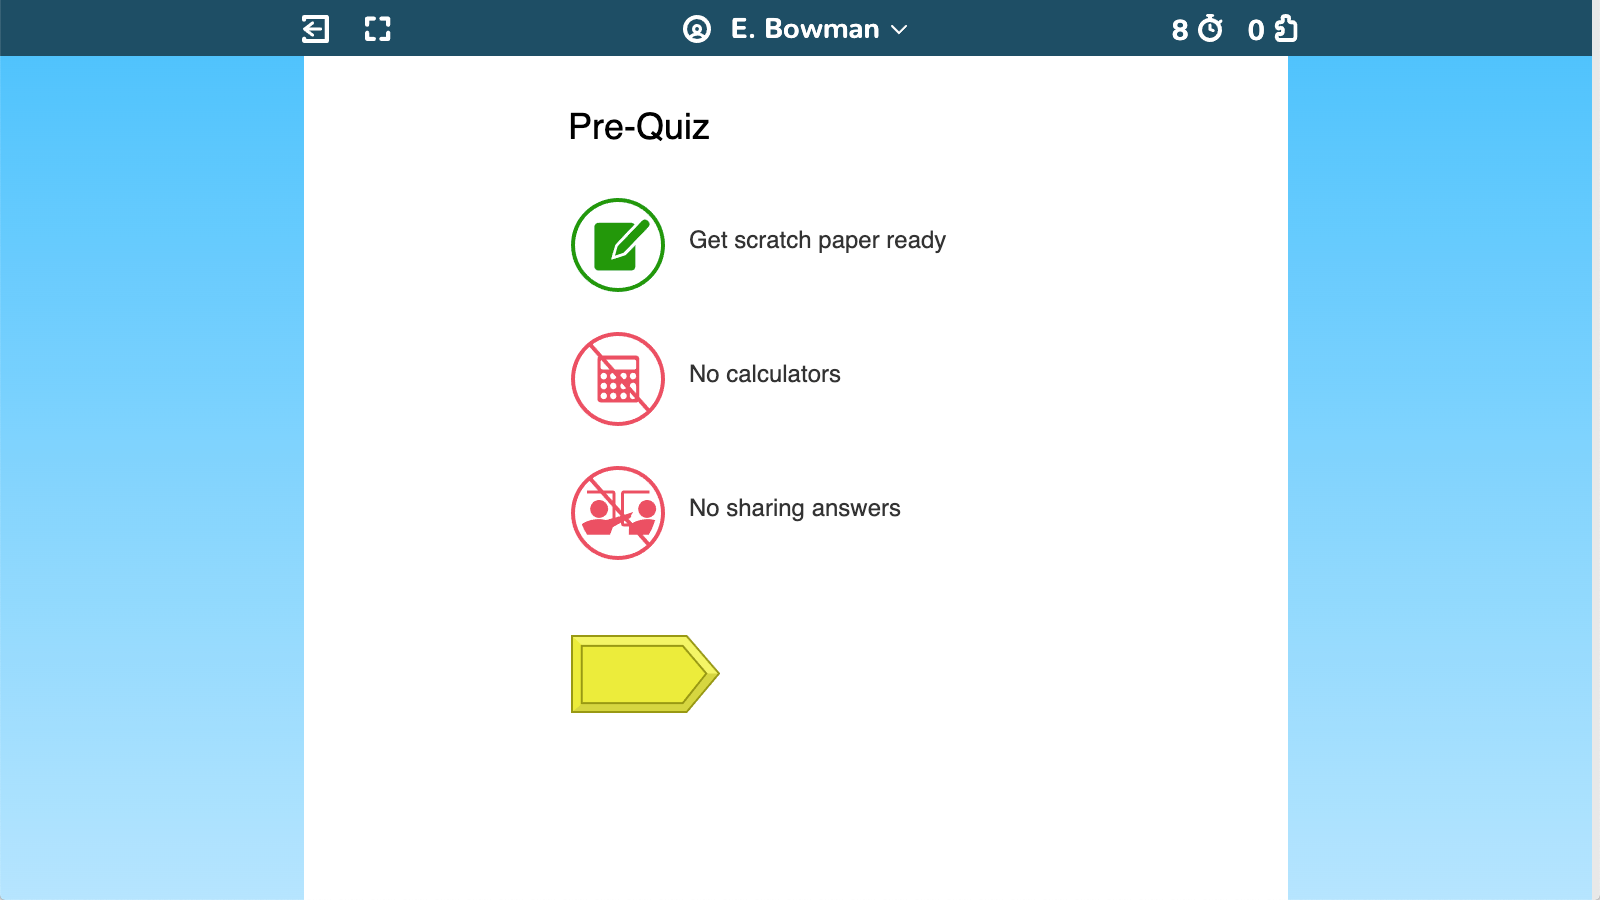
The format of the quiz items is similar to that students will encounter in year-end testing.
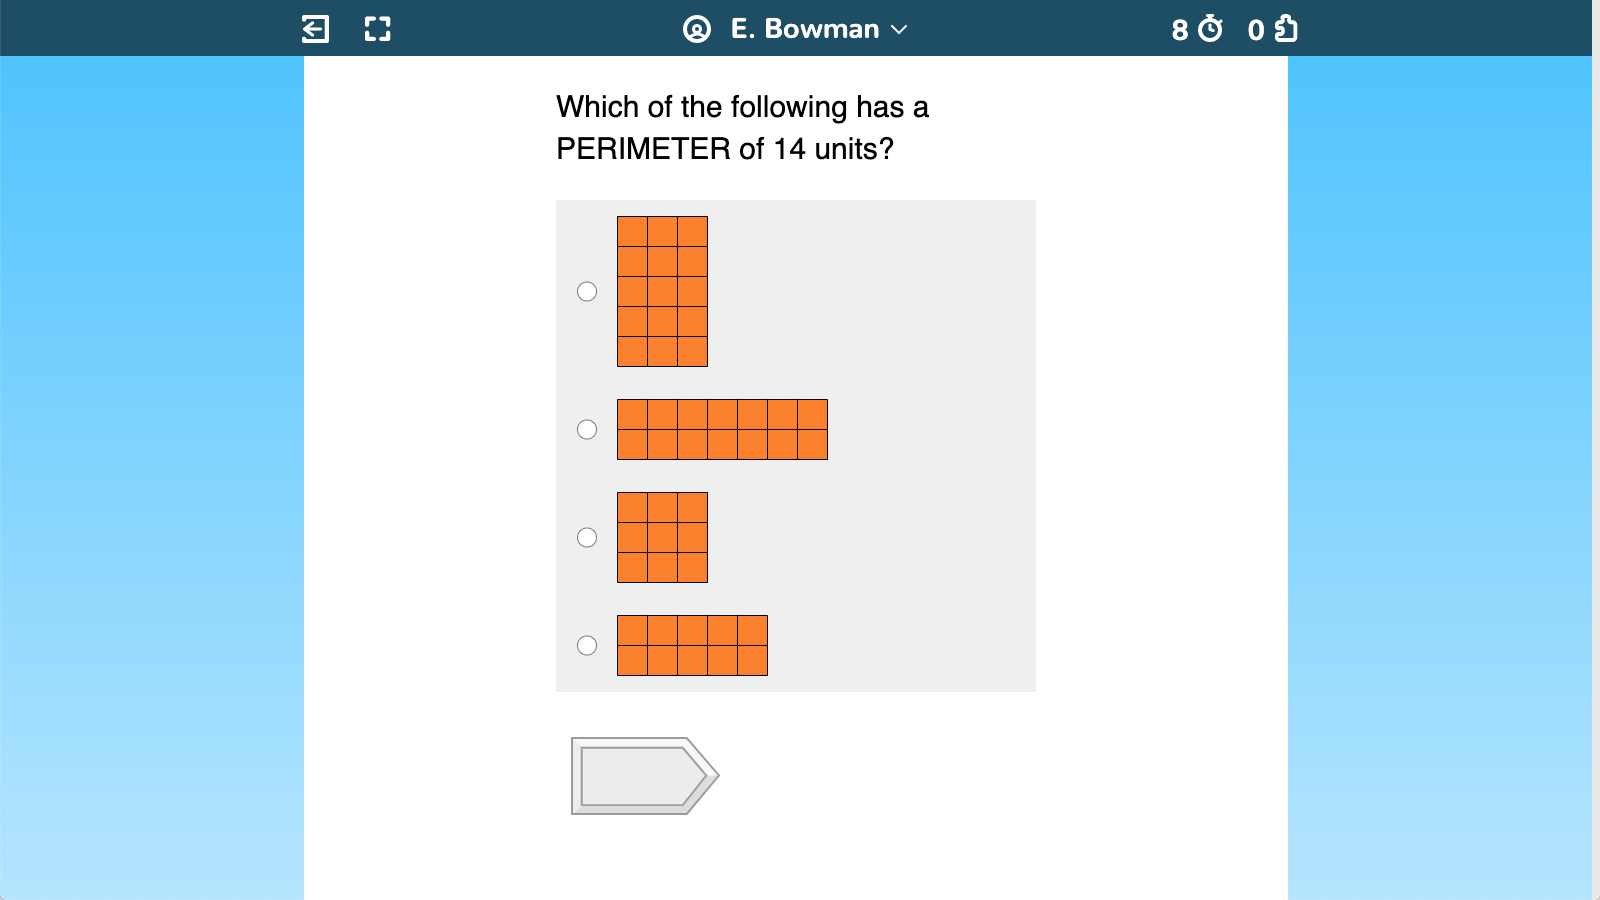
Results are shared immediately with students.
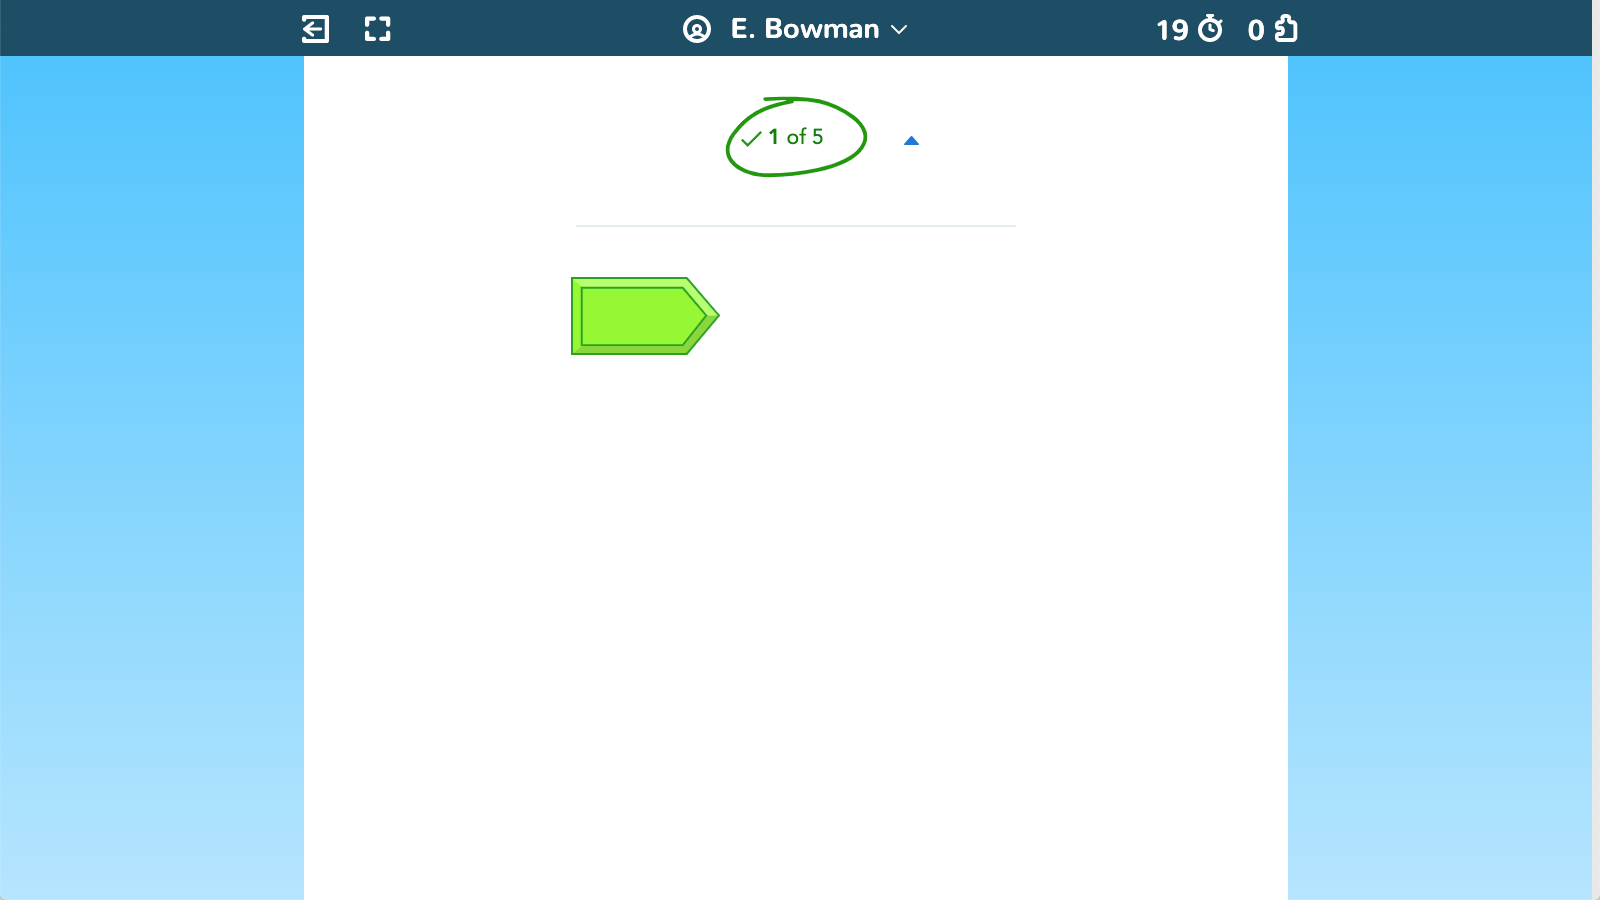
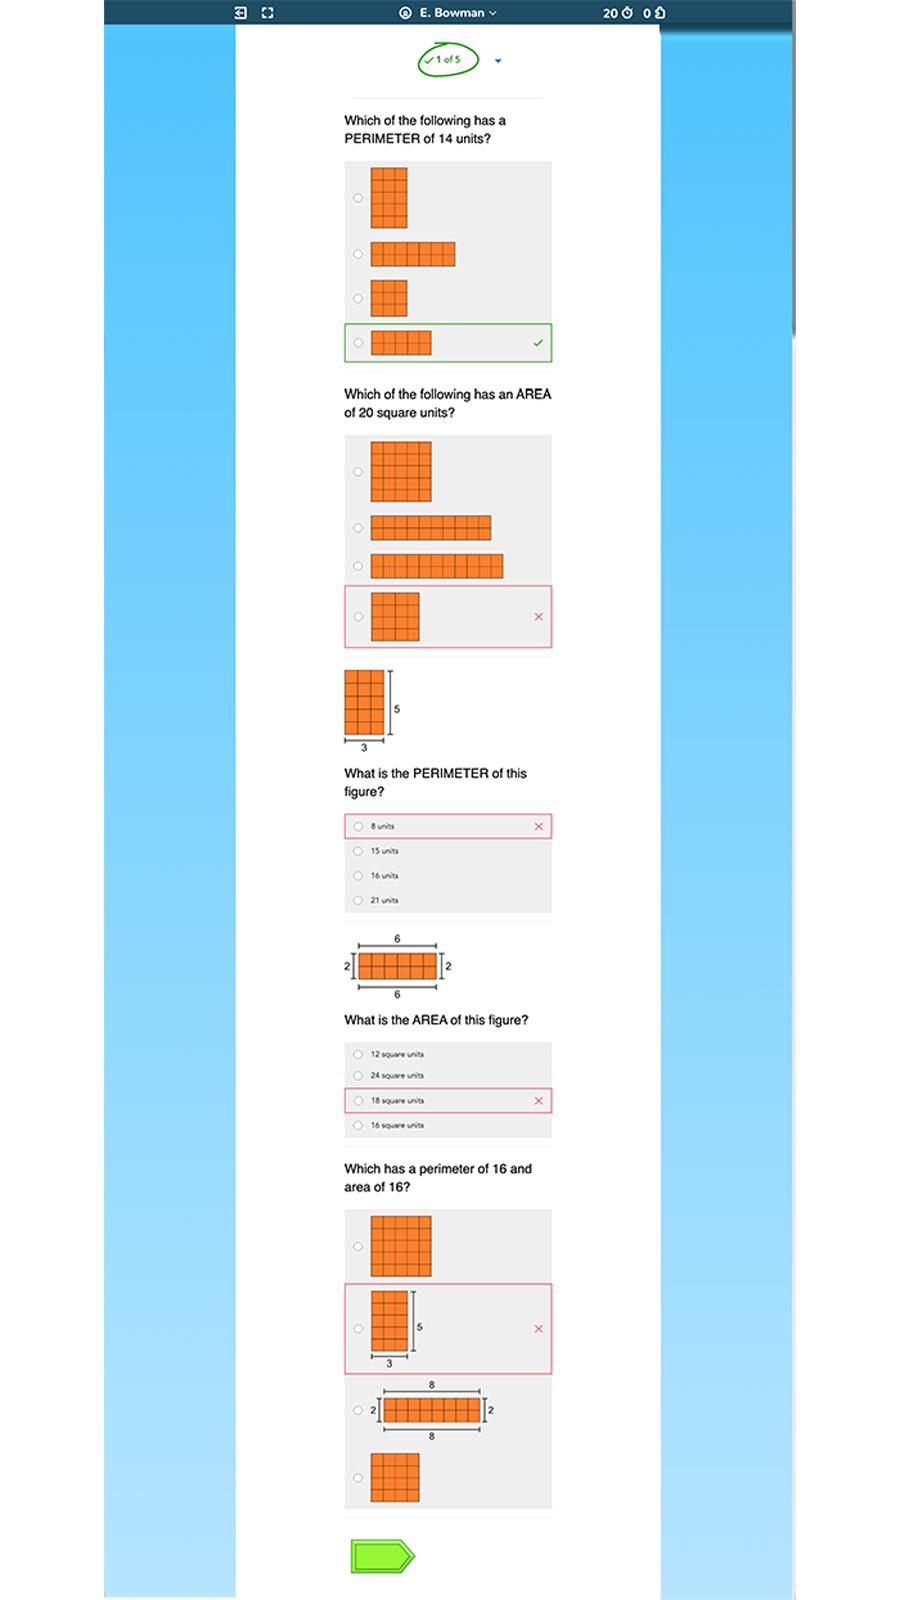
If you click the arrow next to the score on the results page, you and your student will be able to see each of the quiz items and what the student answered. Many teachers ask students to pause on this screen so they can review the quiz together. The more seriously you take the quizzes, the more seriously your students will take them.
Toolbar Overview
The toolbar puts a lot of power in the student's hands. The JiJis and dots under the progress bar can tell both of you how they're doing but there's so much more!
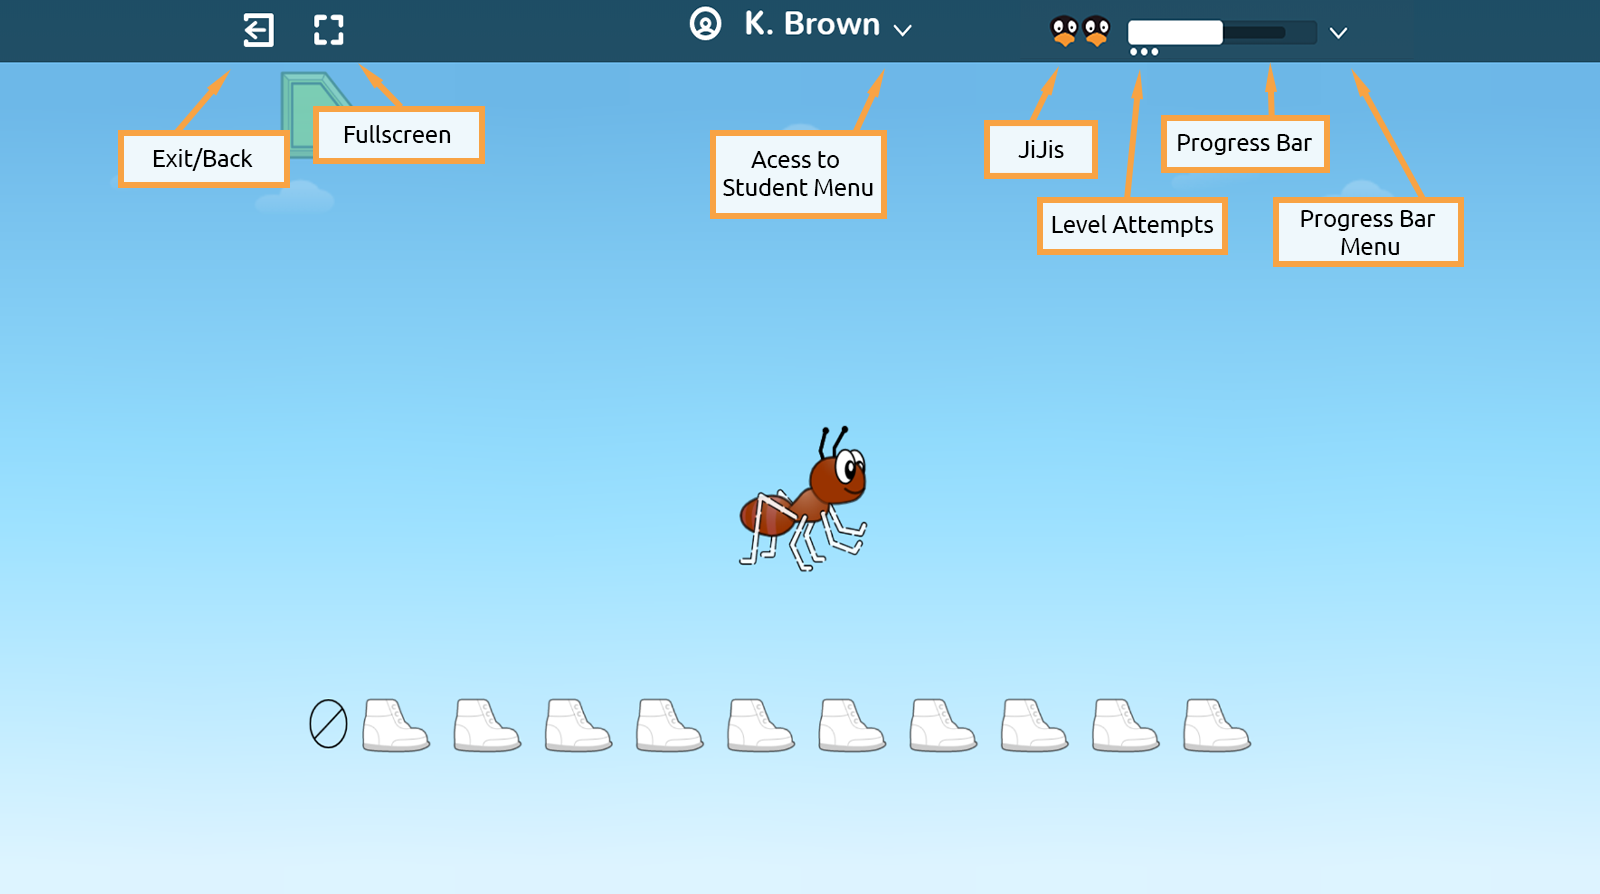
- Students can click the Exit icon to exit a level or ST Math entirely or move back a page.
- The Full Screen icon changes the student’s screen view.
- There are multiple uses for the Student Menu. See the next section to learn more.
- JiJis (or JiJi Tries) are the number of attempts a student has to complete a level and are represented by JiJi faces. In almost all games, a student starts with two JiJis but after two incorrect attempts, the level starts over. When they successfully complete a level, the student's attention is focused for a moment on the progress bar as the completed puzzles fly up as shown below.
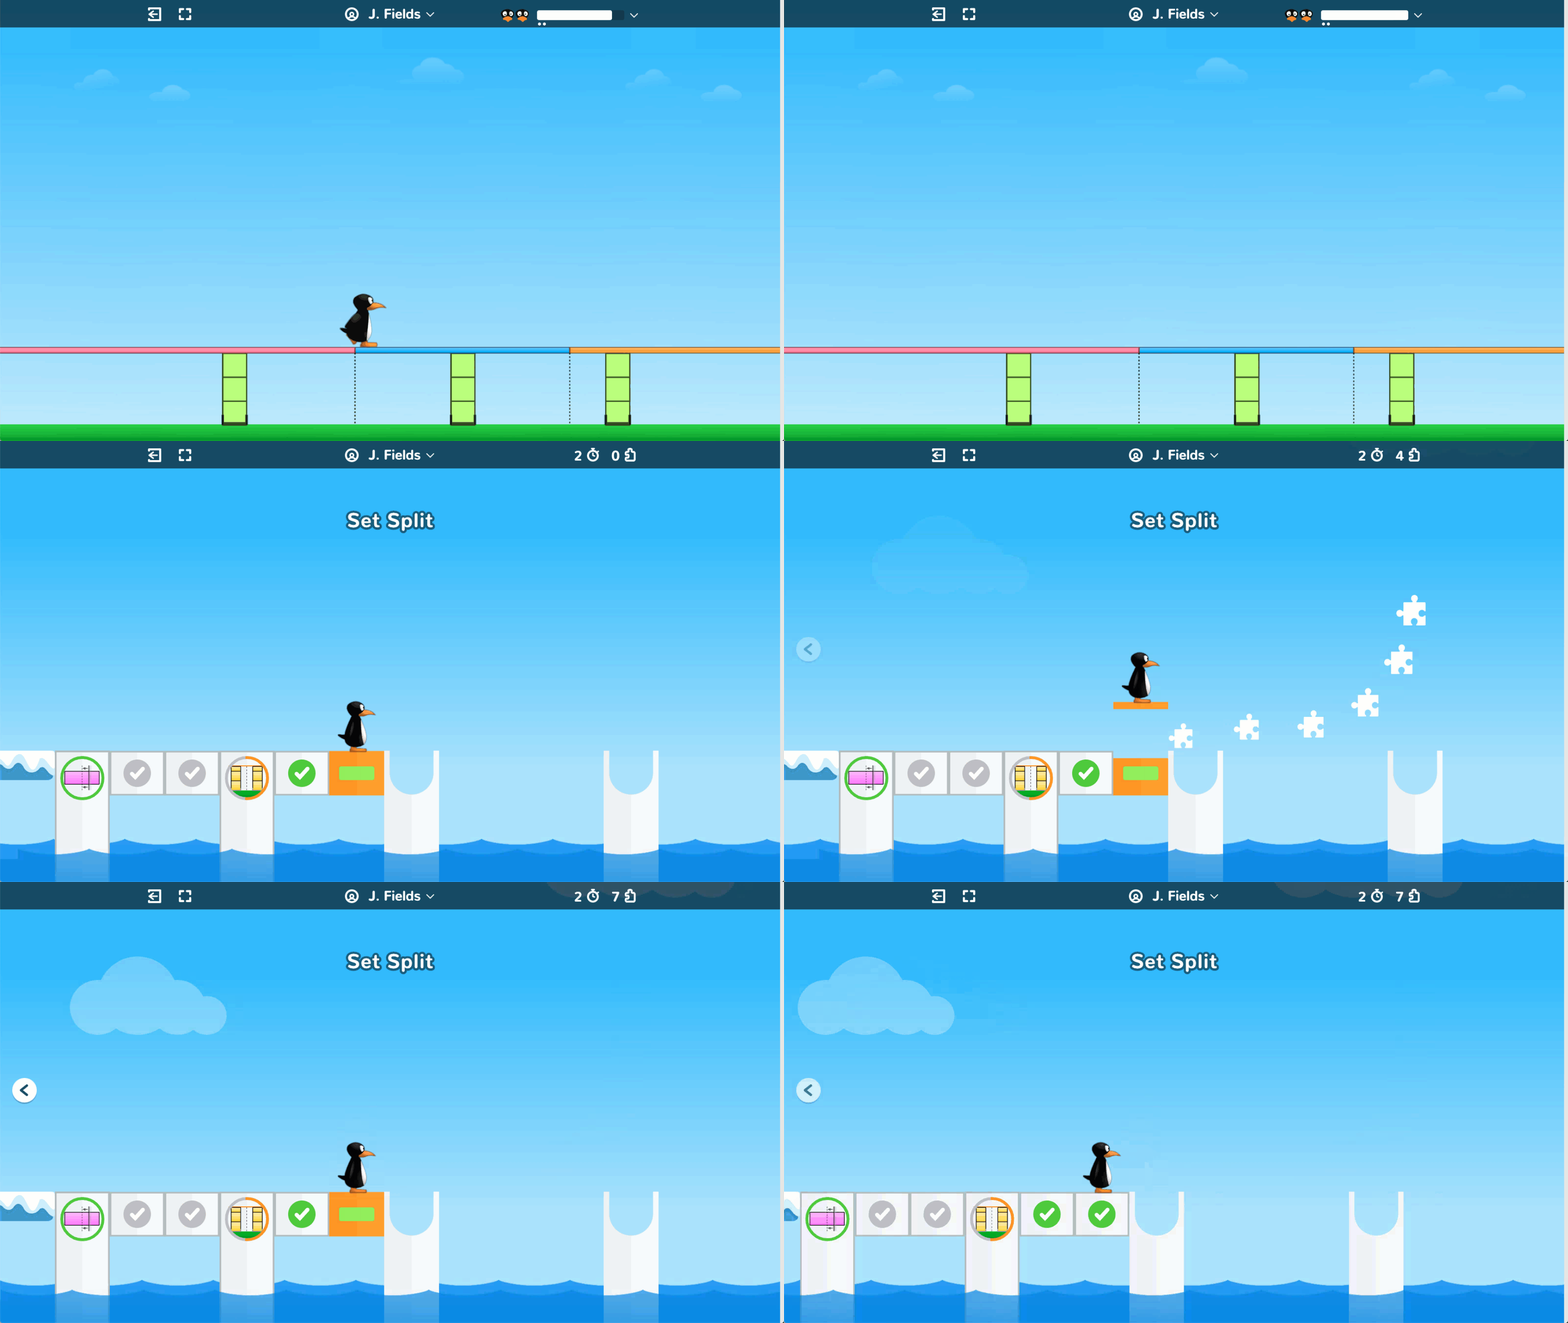
- The Progress Bar shows the students how much of the current level has been completed. The dark bar in the background shows the farthest progress the student has made. The small dots underneath the progress bar indicate the number of times the student has attempted the current level. We suggest that you check in with students who have nine or more dots. Students who have more than 10 unsuccessful tries will have a Many Tries alert on your Students tab.

- Note: The toolbar changes when the animation and annotation tools are activated (see below).
Student Menu
Clicking the student's name will reveal the Student Menu which has the standard user menu items as well as a toggle in the Settings tab to control Auto Pause.
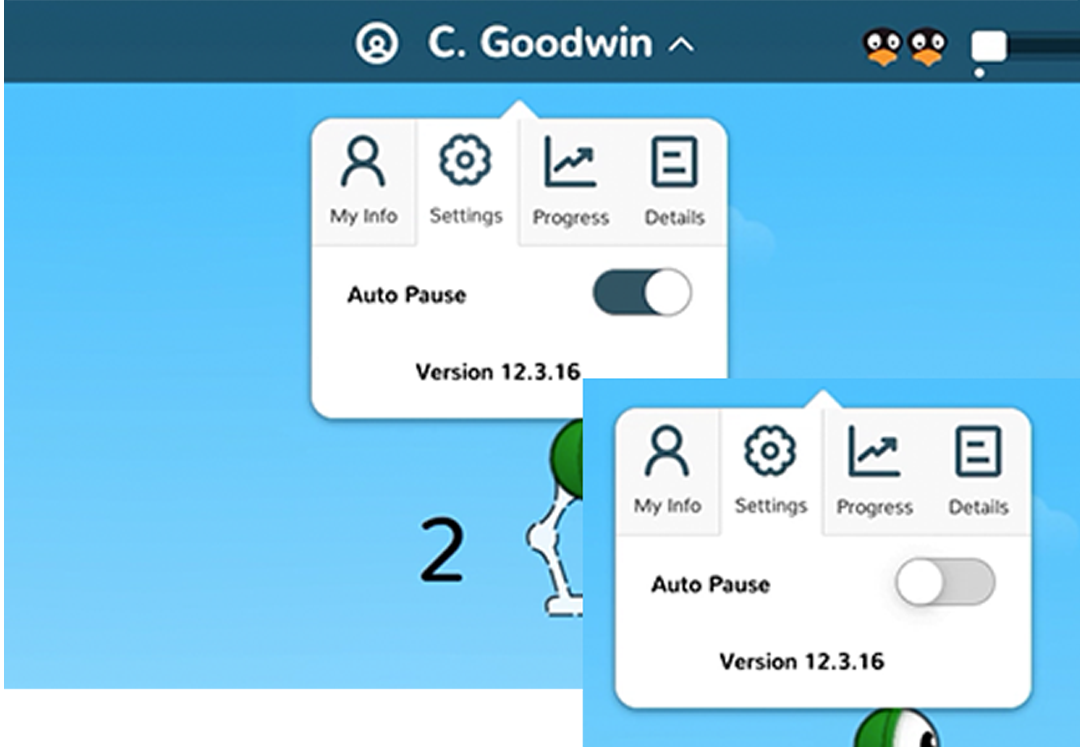
- With Auto Pause on, the animation won't play until the screen or play button is clicked.
- With Auto Pause off, the animation plays immediately after the Go button is clicked or the final answer is entered. Students have to double-click the screen to pause the animation and reveal the animation controls.
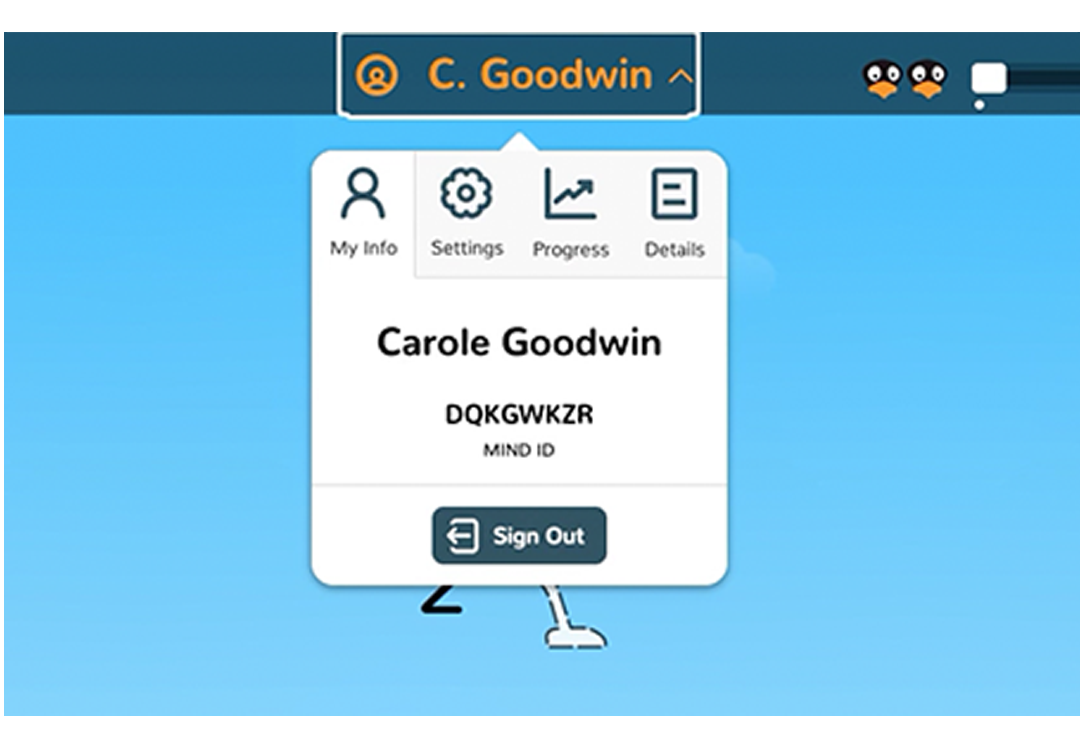
My Info
- Student name
- Student MIND ID
- Sign Out button
Settings
- Auto Pause can be toggled on to automatically pause the animation in each puzzle without the student having to double-click the screen.
Progress
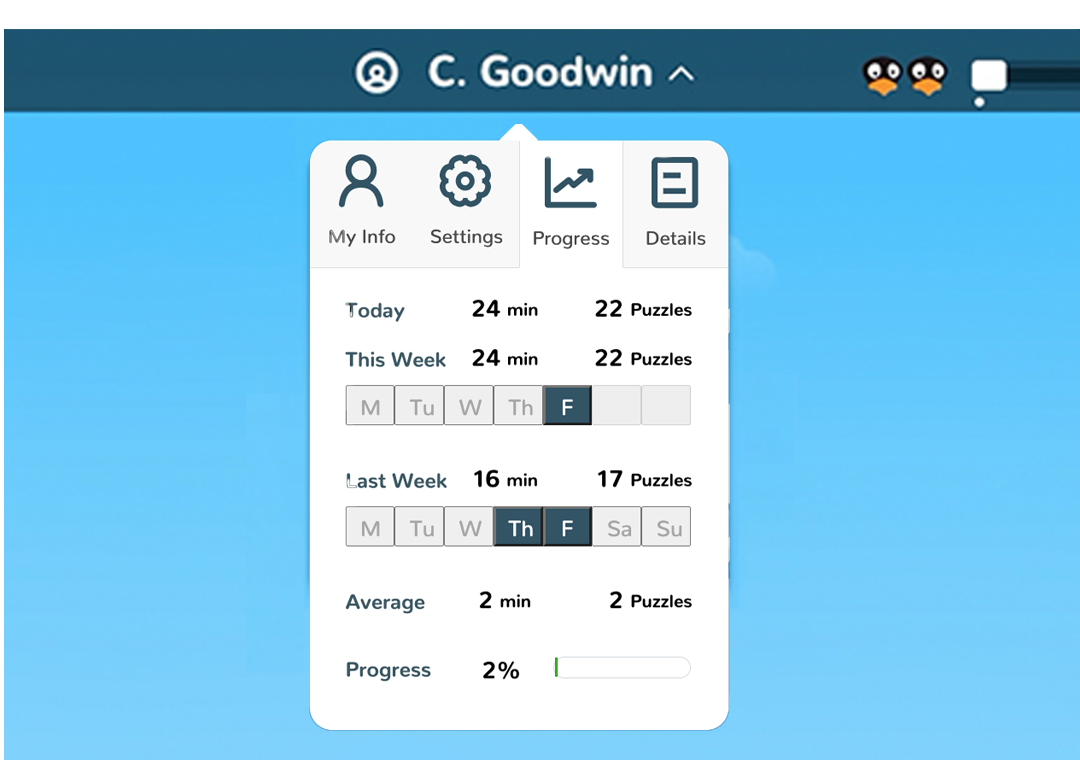
- Students can see what days they logged in and their Minutes and Puzzles for this week and last week as well as their average Minutes and Puzzles. The values reset for the week on Sunday night.
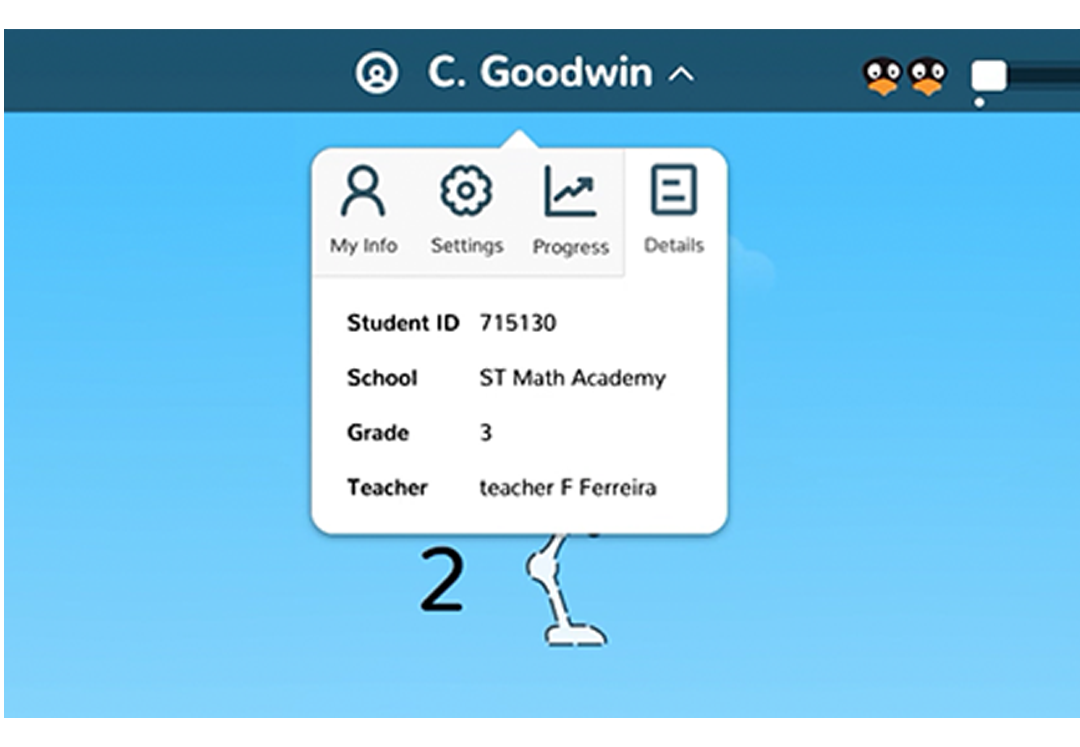
Details shows the following information:
- Student ID
- School
- Grade
- Teacher
Pausing Animation
Pausing the animation is a powerful tool that allows teachers and students to examine the visual proofs that happen after the green Go button is clicked (or the answer is entered).
To show the animation controls, either:
- Double click on the screen after clicking the Go button OR
- Turn on Auto Pause in the Settings tab of the Student Menu
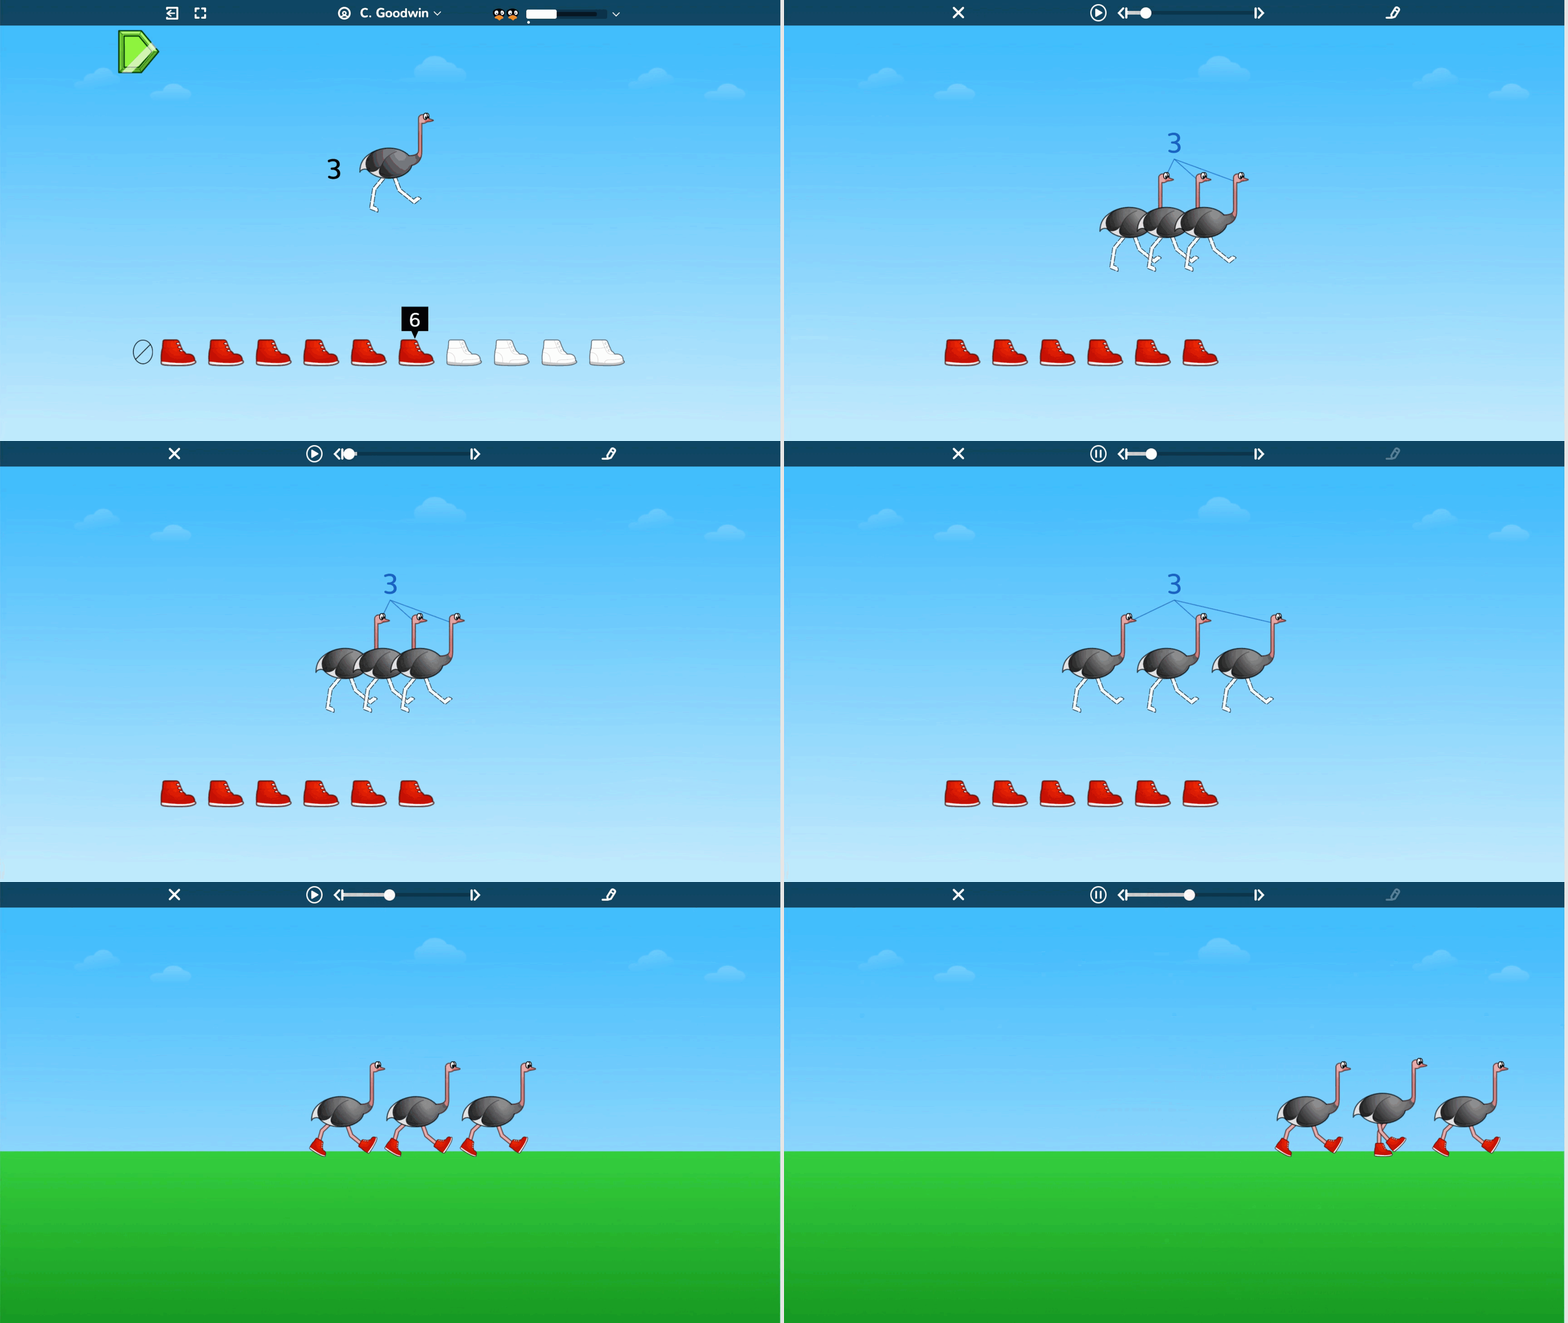
Rationale: Animated informative feedback is intrinsically motivating and prepares students to tackle unfamiliar math concepts. Students who pay attention to the visual proof and use the pause and rewind features have a better understanding of why they got the puzzle wrong or, just as important, why they got it right.
When to use it: With any puzzle but especially the more challenging ones. The immediate visual feedback allows students to analyze what they have tried and make connections to what they already know or predict what they should do next.
Using the Annotation Tool
The annotation tool allows students to write on the screen to show their thinking or record their answer. Once the animation controls are activated (double click during the animation or turn on Auto Pause), click the pen to start annotating. To turn off, click the pen icon in the tool bar or the play button.
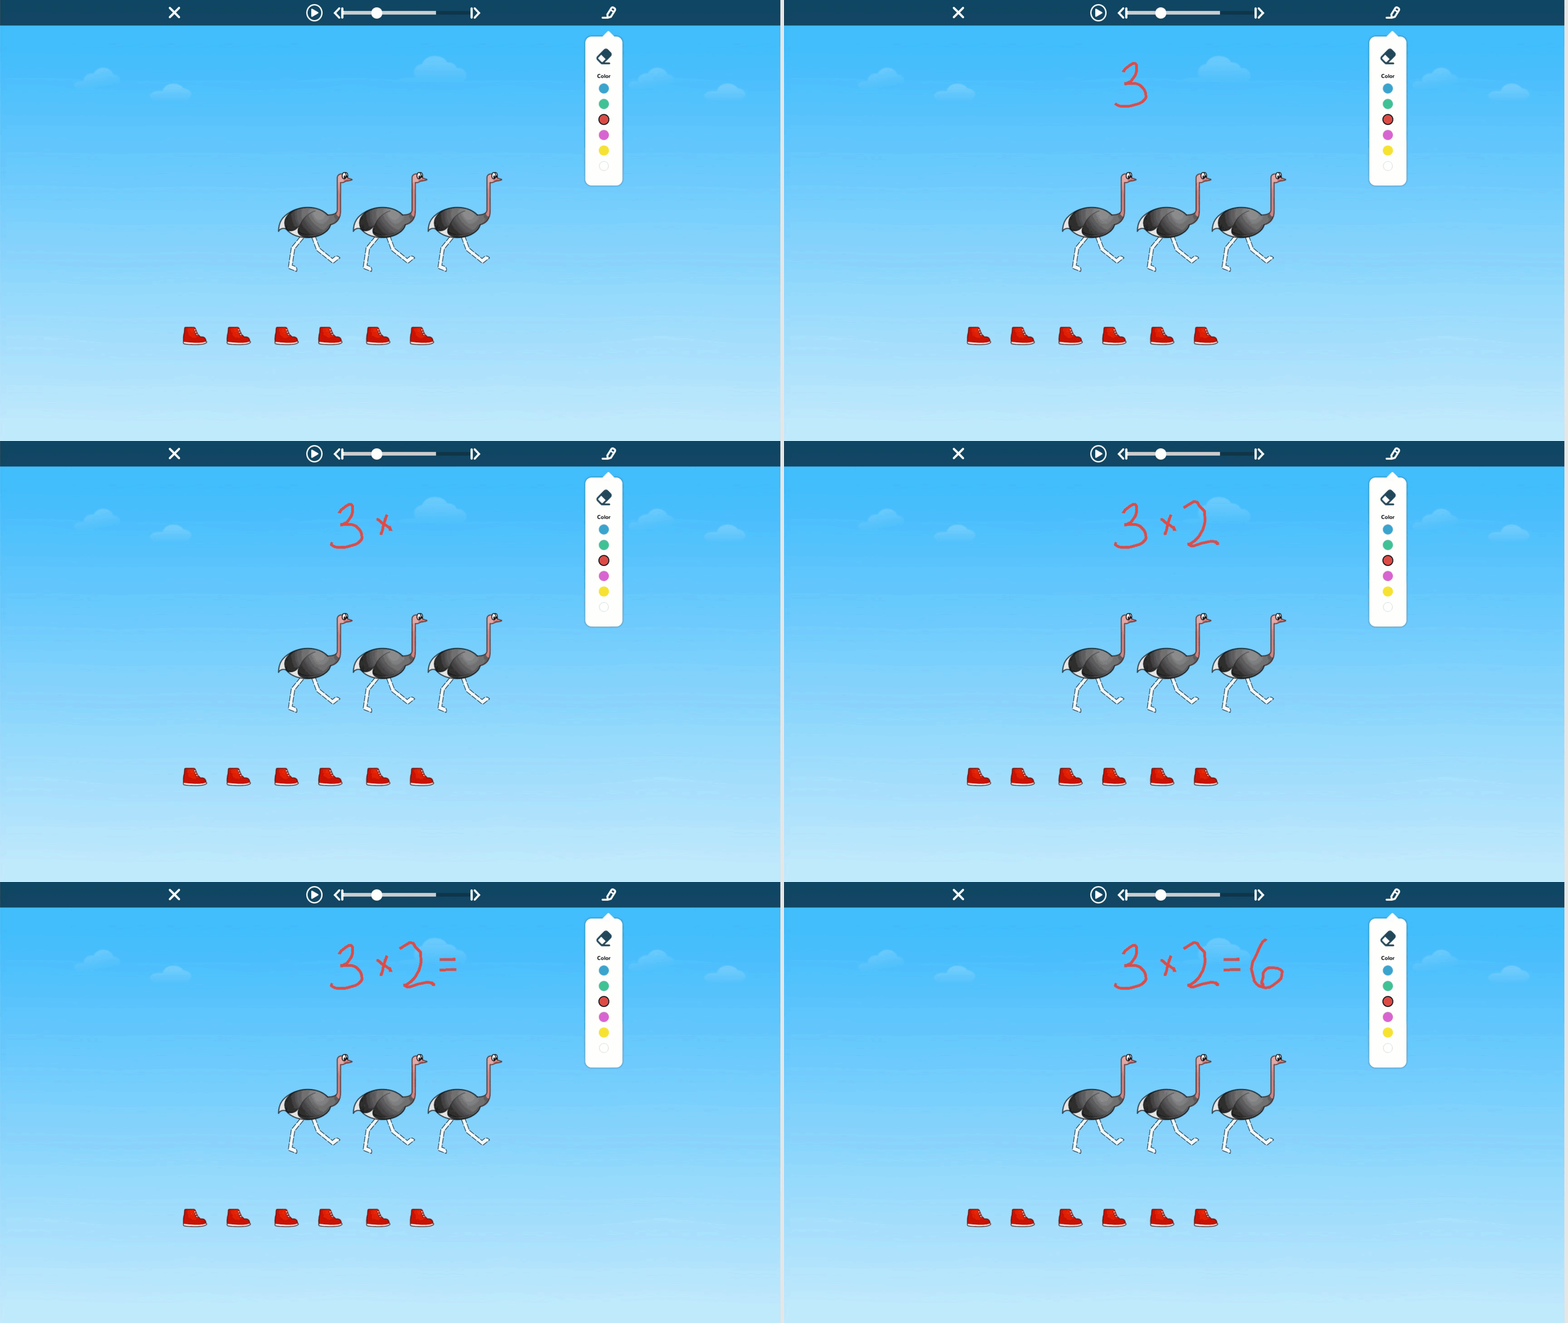
Rationale: Provides opportunities to work through content and showcase thinking
When to use it: The annotation tool can help students who need to get over a hurdle or extend learning by allowing students to demonstrate their problem solving skills and thought process. Capturing screenshots of student work can create a powerful record of their learning.
Check For Understanding
What's Next
The Essentials > After Students Start Playing > Get the Best Results from ST Math
